STEP 1:
STEP 2:
STEP 3:
How To Tag Your “Pose Of The Day” Pics on Instagram:
If you’d like to potentially win a FREE program from us:
– Tag @supersisterfitness in the photo and caption
– Tag #yoga7day in the caption
– Make sure your profile set to “public” so we can see your posts!
DAY 1
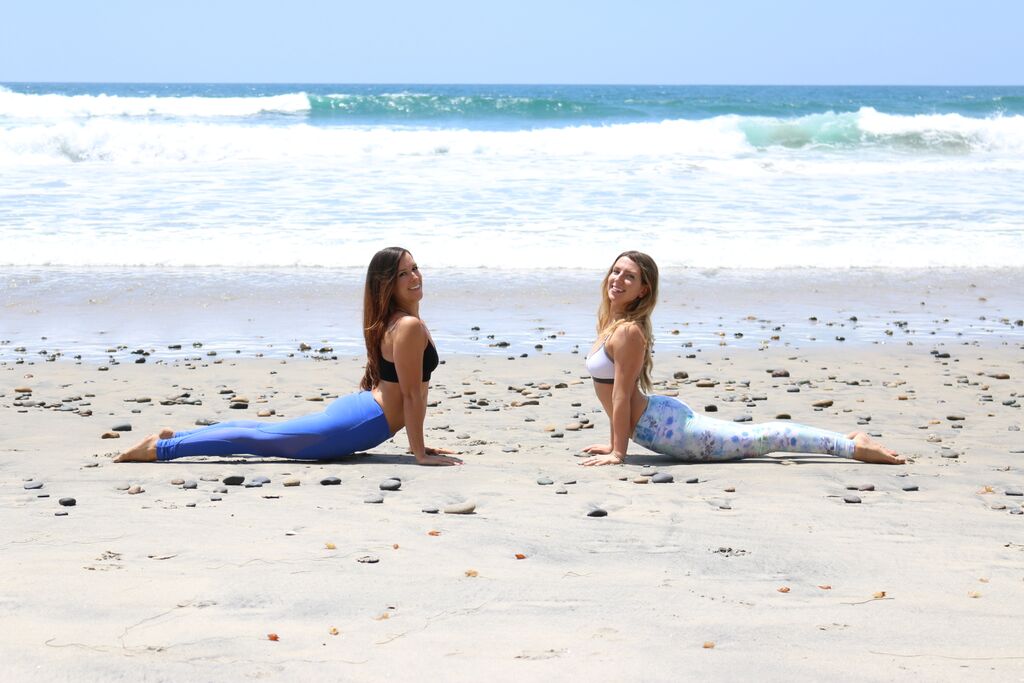
Upward Facing Dog
In upward facing dog, press the palms into the floor with straight arms as you press the tops of the feet into the ground and straighten the legs. Retract the shoulder blades back and down, pulling the shoulders away from the ears and the ears away from the shoulders.
The tops of the thighs may lift off the ground slightly. Make sure you’re lifting through the chest as you open up the rib cage and squeeze your shoulders together in the back.
This pose is great for: Posture, Shoulder Opening, Spinal Stretching
DAY 2
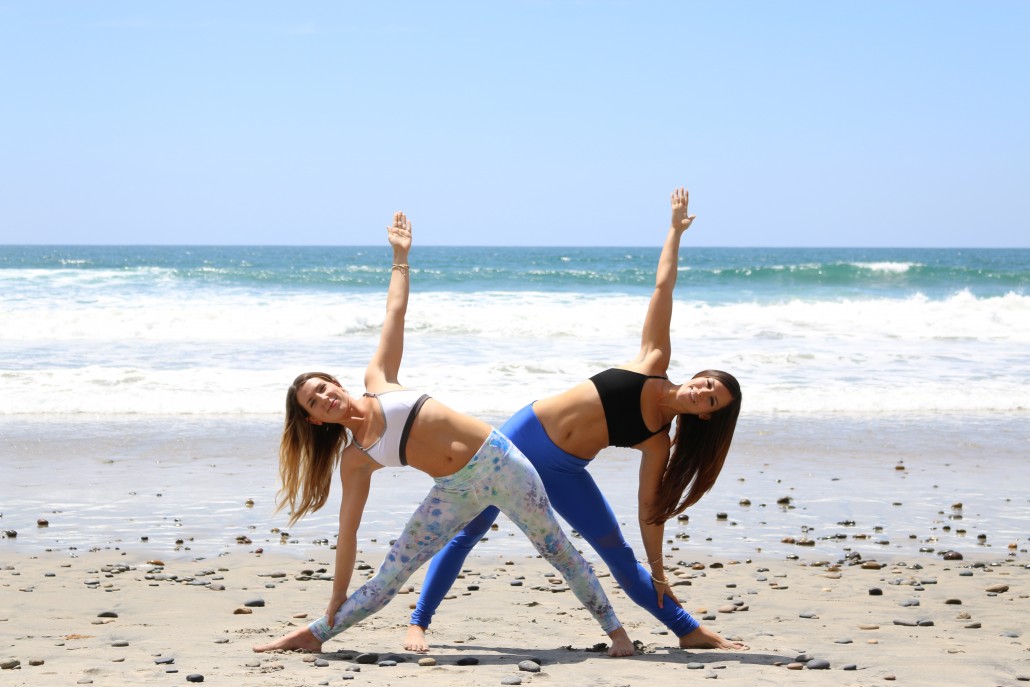
Triangle Pose
In triangle pose, stand with your front heel and the inner arch of the back foot in alignment. Press the outer edge of the back foot down at the same time you press the inner ball of the front foot down.
Pull the tailbone into the body as you extend your arms out at shoulder height. Face to the side as you reach the front arm forward out past the forward leg. Keep the arms straight as you bend at the waist to bring the forward hand to your forward leg (or to a prop like a yoga block if you’re still working on flexibility).
Pull the upper body back so the back of your head is aligned with the back of the tailbone. Use your core to lift up out of the pose slowly.
This pose is great for: Balance, Hip Opening, Spinal Stretching
DAY 3
Half or Full Splits
In the splits, there are many variations you can try. If you’re still working on getting into your full split, keep the front leg bent as you work on squaring and opening the hips from the midline.
Make sure you keep your hips “squared” to the front; do not let them twist or open out to the sides. If this happens to you, you’re not quite ready for the full split and instead of twisting the hips, you should instead work on re-squaring them and working on hamstring & hip flexor flexibility.
In half split, focus on stretching the forward leg, keeping the hips squared as you open from the waist to stretch the hip flexors simultaneously. In full split you can take the back leg all the way to the ground, pressing both legs firmly into the ground to eliminate any space beneath you.
This pose is great for: Hip Opening, Leg Flexibility, Balance
DAY 4
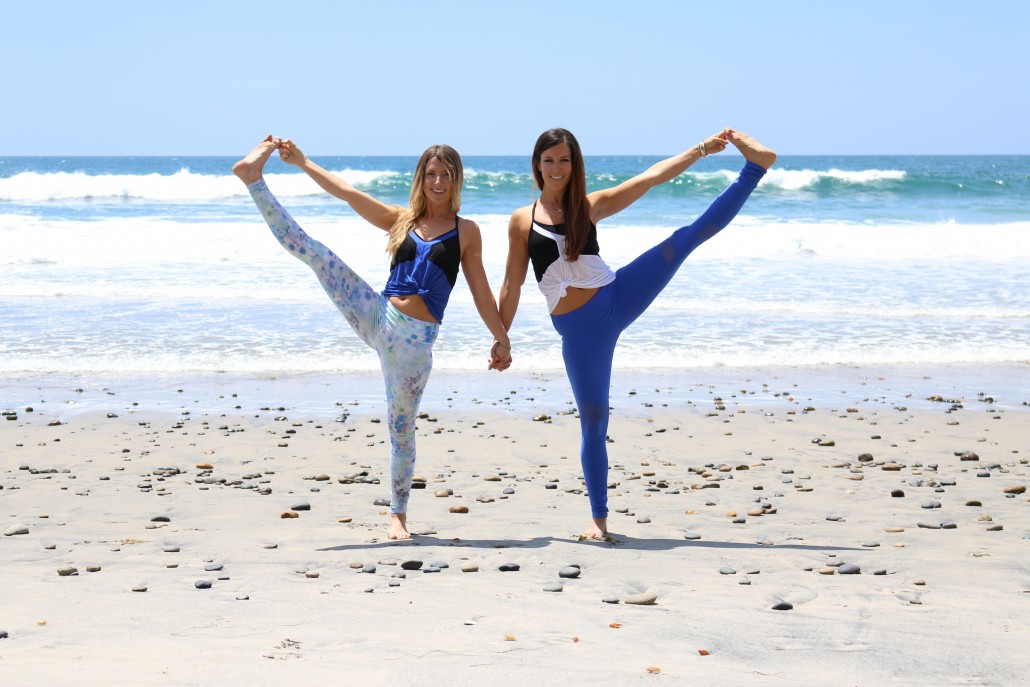
Hand To Big Toe Pose
Starting in a standing position, shift your weight into one leg as you lift the opposite knee up in to your chest. You can either grab the outside of the front of the shin or reach your middle & index finger to “hook” onto your big toe.
From here if you can, extend the lifted leg out in front of you. Retract the arm into the shoulder socket by pulling the shoulder blade back and down, and hug the top of the femur (upper leg bone) into the hip socket.
From there if you’re comfortable and balanced, you can slowly extend your leg out to the side keeping the hip and shoulder retracted. Look the opposite way and breathe. Slowly return to standing the same way you came into the pose, then do the other side.
This pose is great for: Hip Opening, Balance, Core Strength
DAY 5
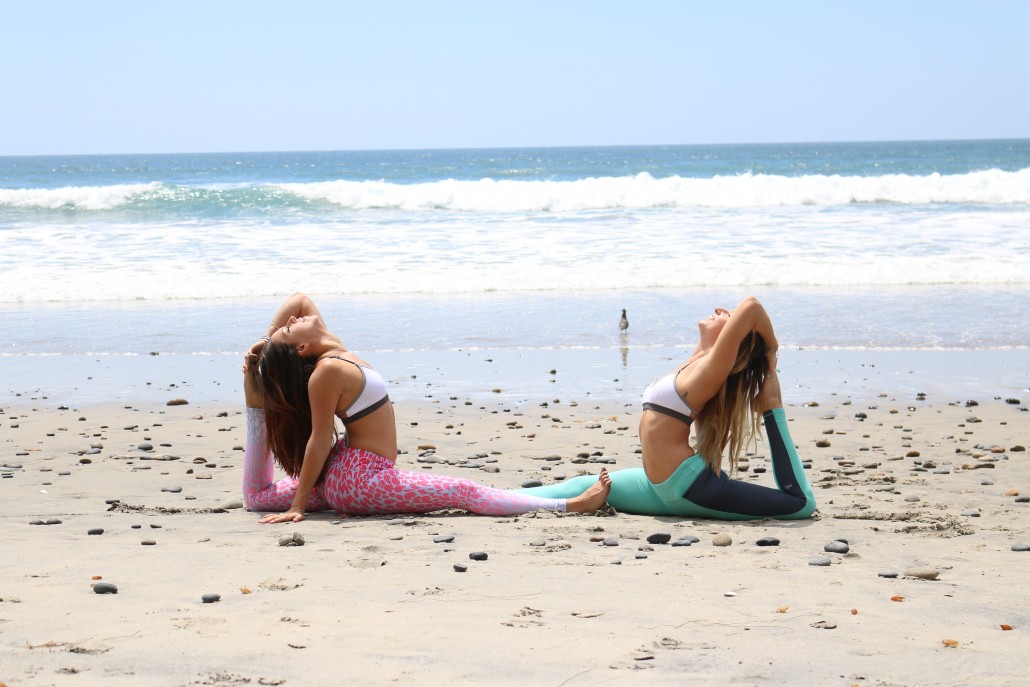
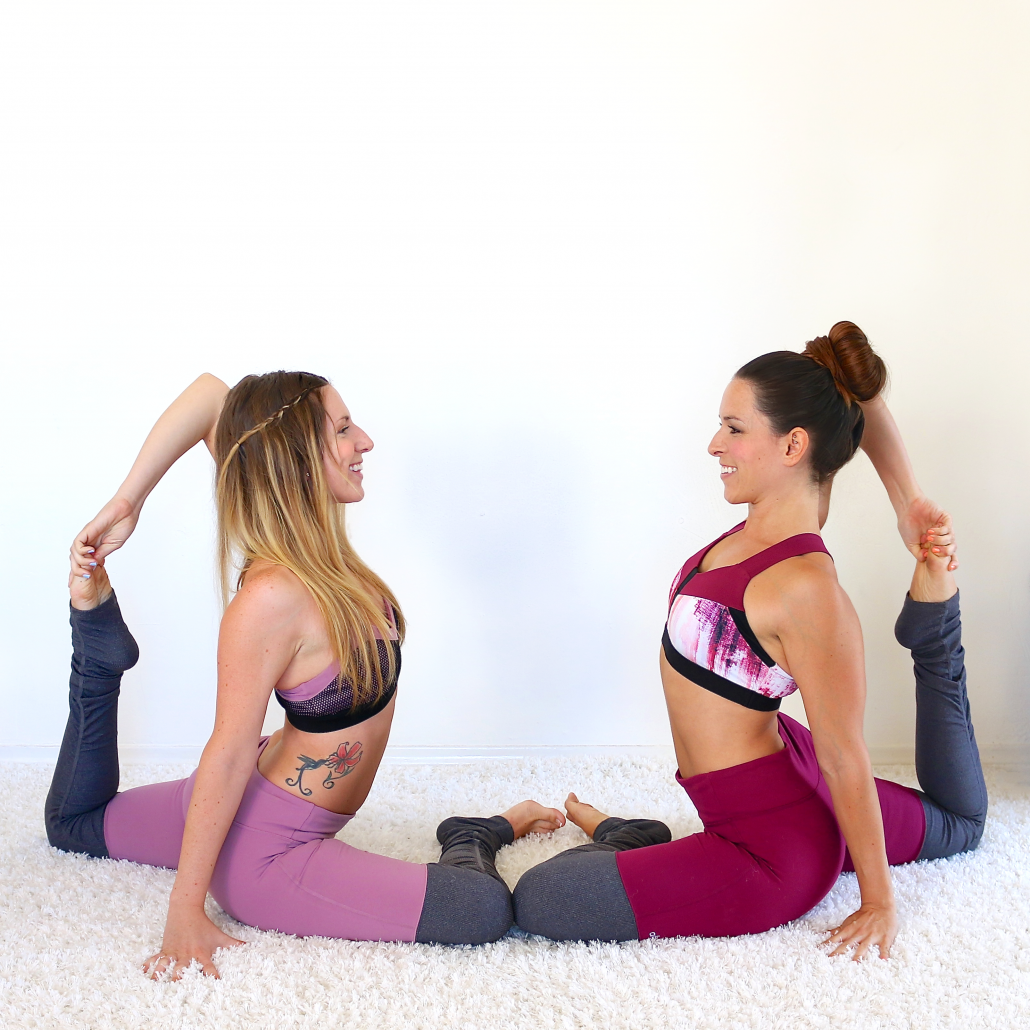
Pigeon Pose or King Pigeon Pose
Sit on the ground and bring one leg at a time to bend in front of you. The more towards a 90-degree angle your forward leg is (parallel with the front of your mat) the more advanced this pose will be.
Press the top of the back foot down into the ground and square the hips to the front of mat. From here, to go into the advanced “King Pigeon Pose,” simply bend the back leg and grab it with your same side arm. Be careful not to “dump” into the lower back; instead make sure to lift a lot through the chest, pulling the shoulder blades back and down as you do.
You can lean forward over your front leg, or stay upright in this position.
This pose is great for: Hip Opening, Balance
DAY 6
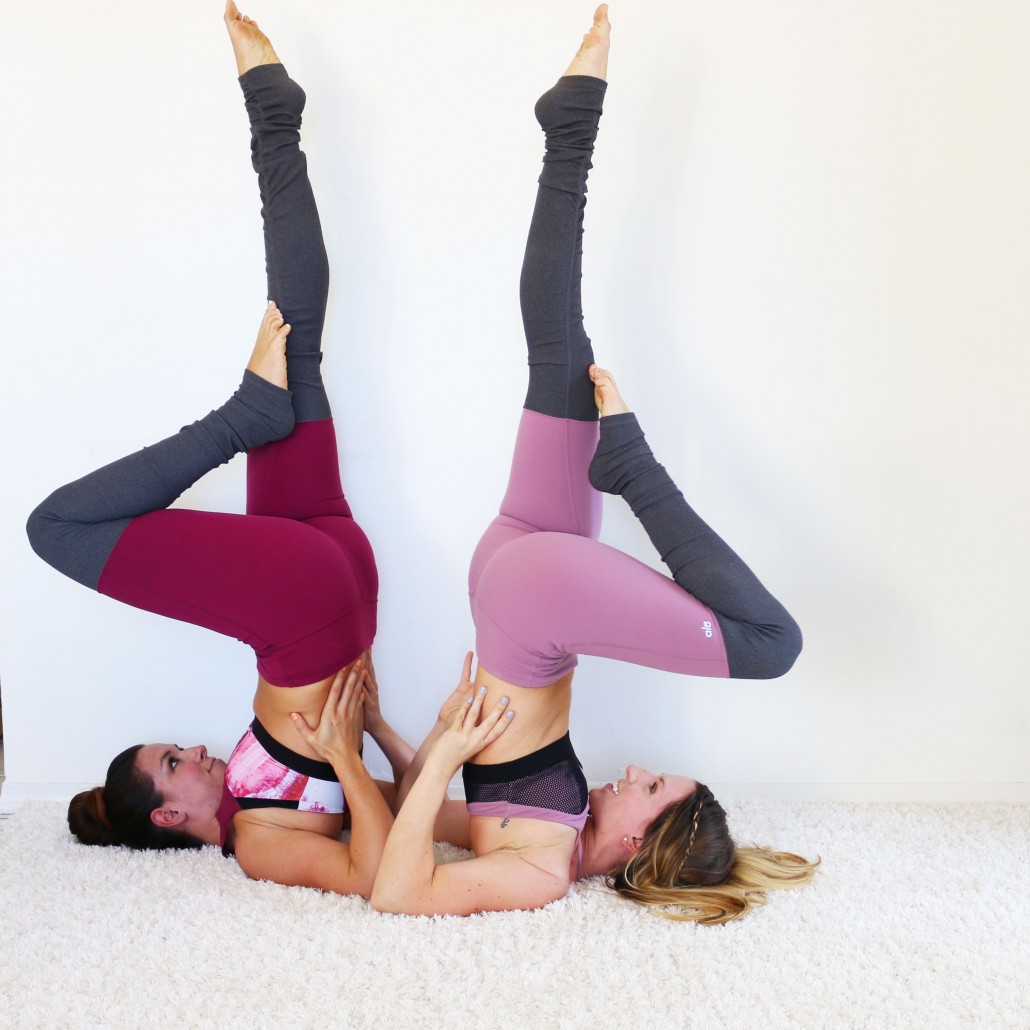
Shoulderstand or Headstand
These two inversions are wonderfully restorative and should feel very refreshing to the body and brain. Take them slow and only do what you can do safely with full control.
For shoulderstand: Lie on your back, face up. Lift the hips high enough to scoot your arms underneath you as you press the palms into the low back and squeeze the elbows in. Keep a neutral neck and DO NOT turn your head in this pose. Your gaze should face up the entire time. Lift and straighten the legs as you continue to press into the low back for support and balance. Breathe deeply, then slowly roll down one vertebrae at a time until the legs return to the floor.
For headstand: Start in a tripod position where the hands and head make an equilateral triangle on the floor (two hands on the bottom, your head at the top). Shift your weight equally into the crown of your head and hands with hips lifted high in the air. From here, walk the feet in as close to the body as possible. Raise one knee into a tight tuck position, then the other.
If this feels comfortable to you, you can slowly lift both knees together into a full tuck position. Then slowly let the hips go back, keeping the knees bent. Once you’re stacked and balanced, then you can slowly extend the legs straight up into the air. Come out of headstand the same way you went in, always maintaining full control and using your core, not momentum.
These poses are great for: Circulation, Core Strength, Balance, Mental Clarity
DAY 7
Camel Pose
The last pose for this challenge is Camel Pose! Standing up tall on your knees, lift the chest towards the sky being extra careful you don’t dump into your lower back. If this feels comfortable to you, from there you can grab your ankles with your hands like you’re holding a cup in your hand.
Lift the chest again. Keep the hips and shoulders squared to the front of the room as you continue to lift up and start to slowly lean back. Hold and breathe.
Carefully come out the same way you came in, by squeezing the backs of the legs and lifting the chest up back to a vertical position.
This pose is great for: Spinal Stretching, Posture

